How to streamline your photography delivery workflow: Step-by-step guide for photographers.
September 30th, 2025
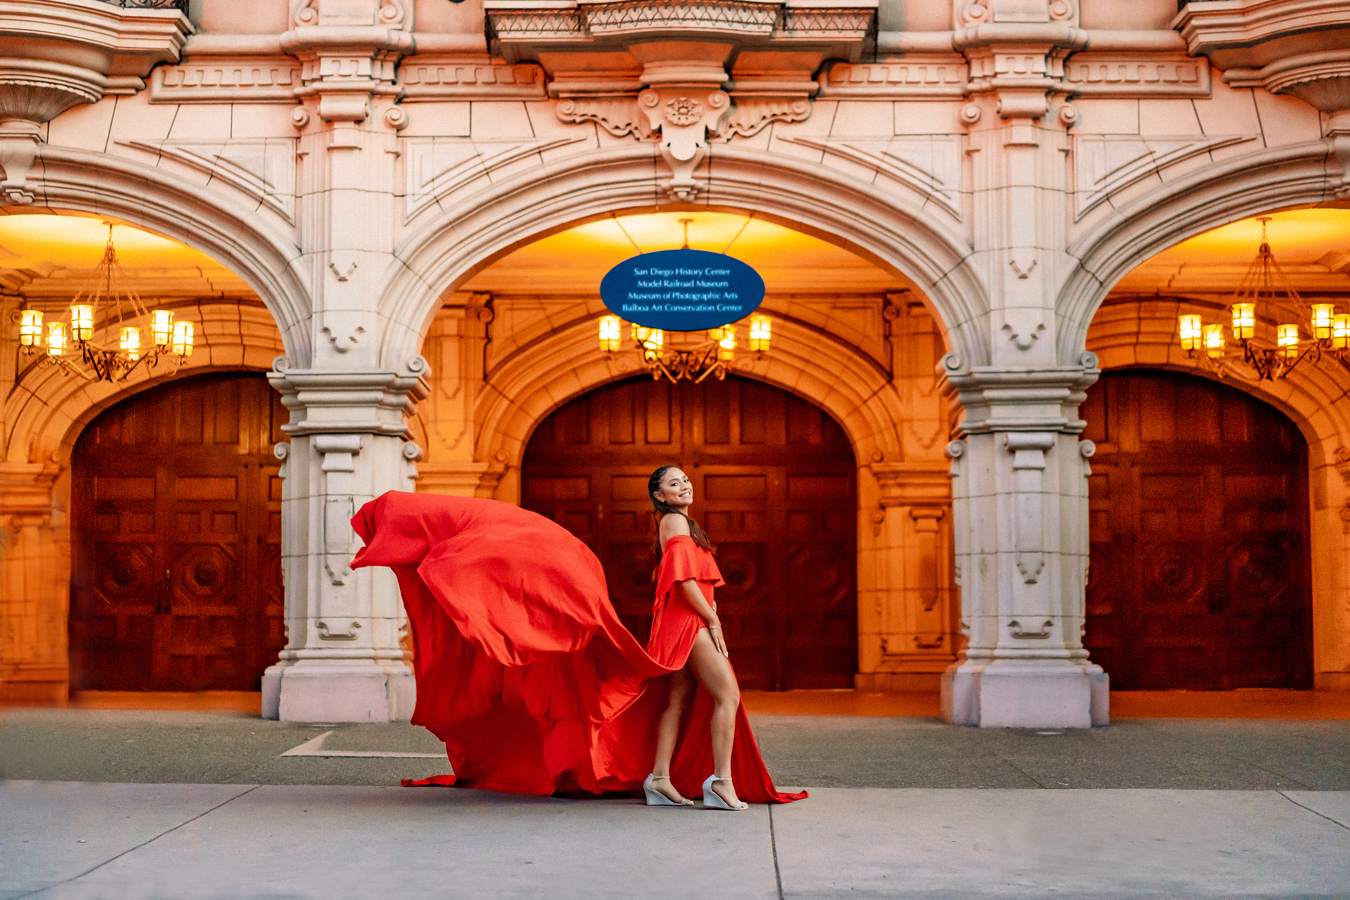
Photo credit: Jerny Pictures
You did it! It was another great photo session, and you captured stunning images and timeless moments. The editing is done, and you’re ready for your clients to see the magic created and captured through your lens and creative vision. But what’s next?
As photographers, navigating through certain challenges during the post-session phase is a common experience. Juggling the decisions on how to deliver images best, how to fulfill orders, and how to ensure smooth communication along the way can be incredibly difficult. While taking beautiful photos is unquestionably important for a photographer, one of the things that truly distinguishes you from the rest is the unparalleled client experience you provide.
Why streamlining your photo delivery matters.
Streamlining your post-session process isn’t just about customer satisfaction–it also saves you time and enhances your efficiency. Optimizing workflows, providing a user-friendly buying experience, delivering quality products on time, and ensuring that the communication channels are clear ultimately leads to stronger customer relationships–and a more successful business.

Step 1: Create an organized and easy to navigate photo gallery for clients.
Confession–as a new photographer, I would throw all of the session images into a folder on Dropbox and send it on to my client. Yikes! I cringe just thinking about it now. The customer could download the images, sure, but it certainly wasn’t aesthetically pleasing or well organized.
Luckily, it didn’t take me long to realize that I needed a better solution to show and deliver my client’s pictures. Zenfolio makes showcasing and sharing my work seamless–let’s walk through the process of creating a gallery, and discuss some tips for enhancing the client viewing experience.
There are a couple of ways to create a new gallery, but the simplest approach is to create one directly from your dashboard, accessible immediately upon logging in. As soon as you are at your dashboard, you will see the brightly colored button labeled New Gallery–with just a click we are on our way.
On the next few screens, you can enter the gallery information, set your preset and shoot type, and choose the gallery location. You’ll even receive a prompt to begin uploading–but don’t worry, if you’re not ready, you can skip this step.
Maybe you need to upload a nested folder of several sessions–Zenfolio has you covered there too! In the Galleries section of your account, click on the plus sign (+) and choose to Upload Folders. Each folder of images will become a gallery, the organizational structure will remain the same as it was on your computer, and the gallery names will also transfer over upon upload. With a couple of quick clicks, your gallery (or galleries) have been created!

NextZen gallery features for secure client galleries and gallery communications.
Galleries come equipped with a rich set of features that include options to streamline your gallery creation process, keep client images secure, and useful tools for clients to share their favorite images and communications.
Our most-used tools:
- The Gallery Preset function. Gallery presets act as a valuable tool to streamline your workflow by allowing the establishment of preselected settings for galleries, adaptable to different photography genres, or providing personalized selling packages. Presets, easily applied during gallery creation and changeable at any point within the gallery’s Design section, offer efficiency in customizing galleries instantly.
- Gallery Access settings. Zenfolio goes beyond basic password protection, allowing photographers to invite both Clients and Guests with tailored permissions. These permissions extend to features such as purchasing photo products, offering free downloads, and saving favorites, providing granular control over image management.
- Watermarks. For photographers who need improved protection against unauthorized downloads, the watermarking capabilities can help safeguard your work while reinforcing brand identity. Whether utilizing a custom or text watermark, this feature is easily accessible within the gallery’s Settings section.
- Client Favorites and Comments. Both of these features are profoundly useful tools that really open up the flow of communication between you and your client. Nothing is better than knowing how much your clients love your images. Not only can you see the favorite overall photos, but you can see what specific images each visitor adores. The Comments feature is often overlooked, but can you imagine how useful it would be to get your clients’ thoughts or editing and cropping requests on an image-by-image basis?! Game changing!
Step 2: Upload photos efficiently.
The next step is to upload images. Whatever your workflow dictates, Zenfolio has you taken care of with three different options for uploading files. If you are looking at the newly created gallery in your account, you can upload directly from your computer by clicking the Add Media button, located at the top, right hand side. Simple as that!
The Lightroom Plugin is my preferred upload method because I am already in there culling and editing images. Using this powerful tool, you can create new galleries, convert your files from RAW to JPEG, and apply keywords that will follow the images directly into your account.
If you need extra organization or go outside Lightroom to complete your editing workflow, Zenfolio also offers the Desktop Uploader app. With similar functionality and appearance as the Galleries section in your account, using the app is simple and straightforward. And with the ability to upload an entire folder structure containing multiple layers of folders–all while preserving the organizational structure of your files–there isn’t a faster way to get a large batch of photos transferred into your Zenfolio account.
Best practices for photo organization.
When I first started photographing weddings, I would treat it like any of my family sessions–edit the photos, and upload them to a gallery. Done. What I came to realize was that the sheer amount of images in the gallery felt overwhelming to my clients. Zenfolio’s Collections feature is a way to avoid viewing fatigue and improve your customer’s experience. Separating the photos into sections like details, getting ready, formal photos, ceremony, and reception allowed my clients to devote more attention to each image–and also resulted in more sales.
Turn your images into income.
Sell your photos online from your own custom store. Set up is quick and your clients will enjoy a seamless shopping experience.
What are the best practices when it comes to uploading photos? Having a functional and consistent file naming convention is key to staying organized and should allow you to find a photo, or a group of photos quickly and easily. Every photographer is different, but I will typically include the client’s name and the date of the session or event.
When naming files, it is important to refrain from using any special characters (: \ / < > | ” ? [ ] ; = + & £ $) because this can cause issues with saving and searching for files. Although photos can be uploaded in formats JPEG, PNG, GIF, and HEIC, the most popular and commonly used file type is JPEG. Regardless of the file type uploaded, all integrated labs will convert files to JPEG upon being sent to print. When it comes to client galleries, I always go for uploading larger-resolution images just to make sure my clients get the best quality files for printing and downloading.
Step 3: Adjust download and pricing settings.
The decision to enable free downloading of various file sizes rests entirely with you, but I’d like to illustrate how convenient it is to set up downloading for your clients. Gone are the days of sending a link to download images from a folder on Dropbox, but all of my packages still include either low res (for social media sharing) or full-resolution images in varying quantities.
Zenfolio has made providing this option to my customers so quick and simple. Within the gallery, click on Settings and then select Digital Downloads. In this section, you can enable downloading for everyone, Clients and Guests, or just your client! You can also choose how many images your customers can download, and the resolution size. Providing low-resolution files is useful for posting quickly to social media accounts–always a hit with my senior sessions.
Setting up selling through your online store is optional, but all photographers want to make the most out of the time we’ve spent planning, photographing, and editing a client photo session. Once you’ve completed setting up your Stripe account and customized your product offerings, applying a price list is just a few easy steps away. From the gallery, click on Settings, and then Store. Toggle the slide button to “On” and choose or create your price list. If you really want to maximize your sales, set up Smart Upsell–clients will be offered a tiered discount when they reach certain dollar amounts you set.

Step 4: Deliver images with a professional touch.
Does anyone here remember CD’s? It is okay if you don’t (and okay if you don’t want to admit that you do!) After my Dropbox phase, I “upgraded” to delivering images on a customized CD. While I still kept their images on a backup hard drive, the client depended on the CD to do any viewing, printing, and sharing. I soon found that this was even less adequate. People would rarely print their photos, and if they did, they printed them through a subpar vendor. The CDs would get damaged or scratched and I would need to replace them with a new CD, or send them via Dropbox!
The final (and BEST) step in post-processing is delivering the images to your client, and luckily, Zenfolio has made this process entirely personalized, ensuring that your brand stands out the moment your client opens the email. When you click the Share button, you will notice a few different ways to send the gallery to your client, but the most common method for photographers (outside of viewing the gallery together during an IPS session) is via email.
If your customer is already entered as a client in the gallery access area, their email address will automatically populate, but you can also add other email addresses at this time as well. There are several templates to choose from that provide pre-written text–even better, each element is fully customizable to align with your unique voice and branding and can be saved as your own unique email templates.
When you are ready, click the Send Email button, and the gallery will be on its way to your client! Take note of the option to schedule delivery for a later time, providing further flexibility and convenience. And since we all live on our phones these days, Zenfolio also offers the ability to share galleries via text message and QR code! Once your client receives their photo gallery, you’ll gain access to insightful metrics on visitor traffic, downloads, likes, and overall engagement directly within your Zenfolio dashboard.
Your website. Your way. In minutes.
Build a professional website that reflects your style. Easily customize your design–no coding required. Run your business…all from your own site with your own brand.
You’ve navigated through the photo session, taken amazing shots, and left nothing on the table in the editing room. While the post-session phase once brought uncertainty, Zenfolio has taken all of the guesswork out of image delivery. With user-friendly, intuitive features designed to enhance your workflow and improve the client experience, you can rest assured that your customers will truly enjoy viewing and sharing their photographs. Whether you are a seasoned pro or just starting your photography journey, there’s always room to incorporate tools that simplify your process, allowing you to focus on what you do best: capturing those moments from behind the lens!


